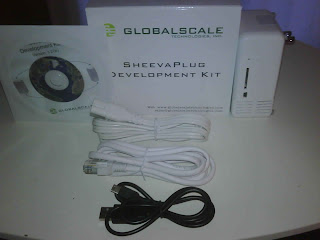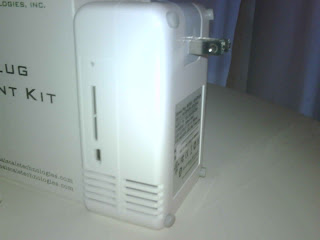

Tiny little bugger... I am still quite impressed on how small this device is. Fan-less design and low consumption... Ah yes, I can see David Suzuki smiling to the thought of a "Green" computer.
Accessing the device in Windows 7
Step 1: Connect the device using the mini USB -> USB cable.
Step 2: Chances are Windows will struggle to find drivers for the device so just use the SheevaPlug_Host_SWsupportPackageWindowsHost.zip file that is included in the DevKit CD. Unzip it and use Device Manager to browse for the TeraTerm Drivers (located as a sub directory in the zip file you just extracted).
Step 3: Windows will find 2 devices (USB Converter A and B) A = JTAG port B = serial port. We want to connect to the serial port.
Step 4: Click on Port B, select properties and in the Advance tab ensure LOAD VCP is selected.
Step 5: Unplug the device, and plug it back in.
Step 6: Using PuTTY, connect to the COM port of "PORT B" and make sure the SPEED is set to 115200.

Step 7: You might need to press ENTER
Step 8: Login using the default authentication information (username = root ) (password = nosoup4u) (For you SEINFELD fans out there, this is a great password lol)

Other sources for Connecting to SheevaPlug:
Source 1
Source 2
I would have connected the device to my Linux box today but just like me, it seems the machine is feeling a little under the weather. I am going to do some troubleshooting so I can start the Fedora 12 installation on the SD card for the SheevaPlug.
I will keep everyone posted!
No comments:
Post a Comment